$13 voice remote for Home Assistant
This tutorial will guide you to turn an ATOM Echo into the world’s most private voice assistant. Pick up the tiny device to talk to your smart home. Issue commands and get responses!
Required material
- Home Assistant 2023.5 or later
- Home Assistant Cloud or a manually configured Assist Pipeline
- The password to your 2.4 GHz Wi-Fi network
- Chrome (or a Chromium-based browser like Edge) on desktop (not Android/iOS)
- M5Stack ATOM Echo Development Kit
- USB-C cable to connect the ATOM Echo
Installing the software onto the ATOM Echo
Before you can use this device with Home Assistant, you need to install a bit of software on it.
-
Make sure this page is opened in a Chromium-based browser on a desktop. It does not work on a tablet or phone.
-
Select the Connect button below. If your browser does not support web serial, there is no button but a text.
-
For advanced users: The configuration file is available on GitHub.
-
-
Connect the ATOM Echo to your computer.
- In the popup window, view the available ports.
- Plug the USB-C cable into the ATOM Echo and connect it to your computer.
- In the pop-up window, there should now appear a new entry. Select this USB serial port and select Connect.
- Depending on your computer, the entry might look different.
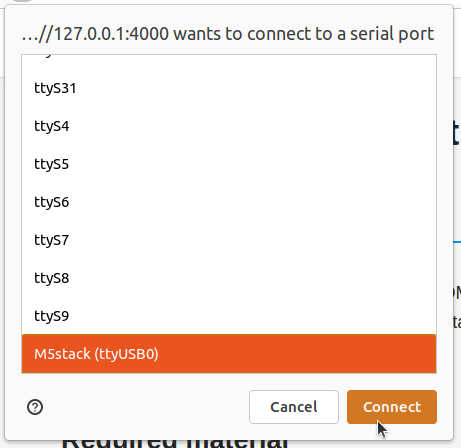
- Depending on your computer, the entry might look different.
- If no new port shows, your system may be missing a driver. Close the pop-up window.
- In the dialog, select the CH342 driver, install it, then Try again.
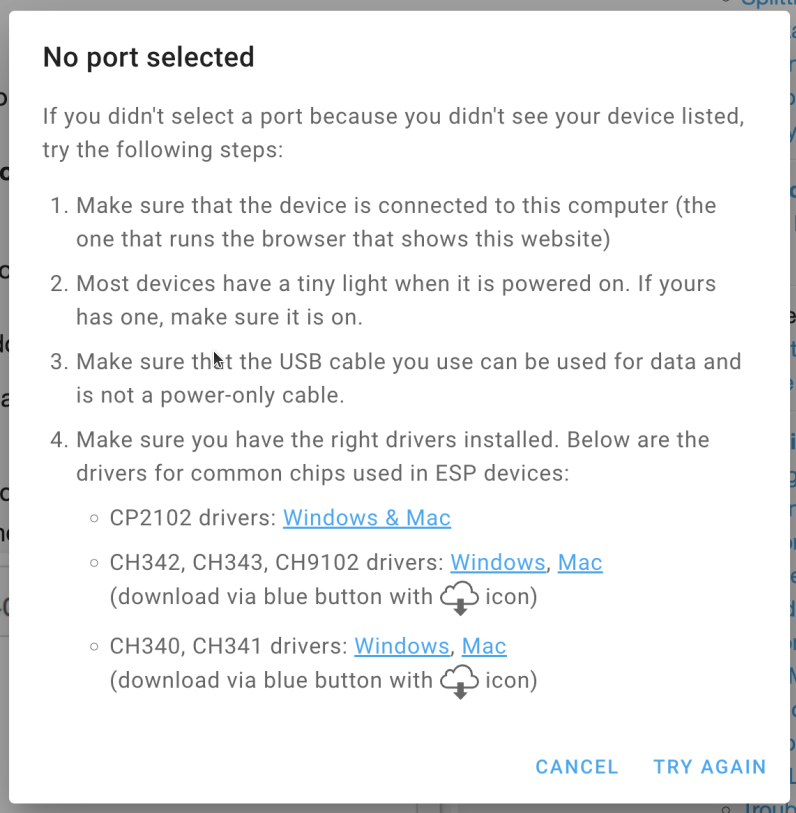
- In the dialog, select the CH342 driver, install it, then Try again.
-
Select Install Voice Assistant, then Install.
- Follow the instructions provided by the installation wizard.
- Add the ATOM Echo to your Wi-Fi:
- When prompted, select your network from the list and enter the credentials to your 2.4 GHz Wi-Fi network.
- Select Connect.
- The ATOM Echo now joined your network. Select Add to Home Assistant.
-
This opens the My link to Home Assistant.
- If you have not used My Home Assistant before, you will need to configure it. If your Home Assistant URL is not accessible on
http://homeassistant.local:8123, replace it with the URL to your Home Assistant instance. - Open the link.
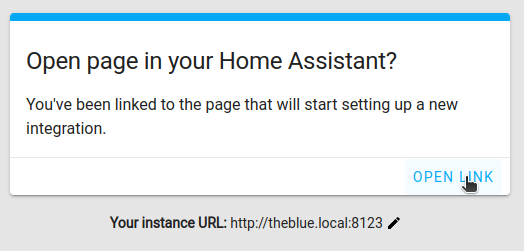
- If you have not used My Home Assistant before, you will need to configure it. If your Home Assistant URL is not accessible on
-
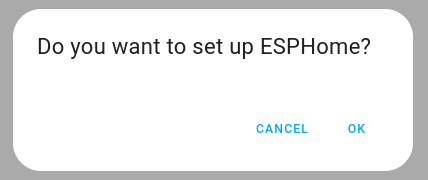
Select OK.
-
To add the newly discovered device, select the ATOM Echo from the list.
- Add your ATOM Echo to a room and select Finish.
-
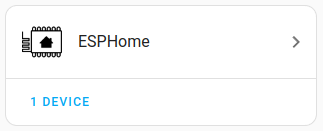
You should now see the ESPHome integration.
-
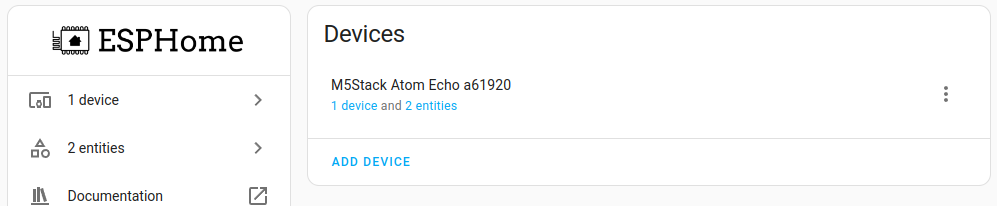
Select the ESPHome integration. Under Devices, you should see the M5Stack Atom Echo listed.
- Your ATOM Echo is connected to Home Assistant over Wi-Fi. You can now move it to any place in your home with a USB power supply.
-
Congratulations! You can now voice control Home Assistant using a button with a built-in microphone. Now give some commands.
Controlling Home Assistant over the ATOM Echo
- Press the flat button with rounded shape on your ATOM Echo.
- The rectangular button on the side is the reset button. Do not press that one.
- As soon as you press the button, the LED will light up in blue.
- While you are speaking, the blue LED is pulsing.
- Once the intent has been processed, the LED lights up in green and Home Assistant confirms the action.
- Say a supported voice command. For example, Turn off the light in the kitchen.
- Make sure you’re using the area name exactly as you defined it in Home Assistant.
- You can also ask a question, such as
- Is the front door locked?
- Which lights are on in the living room?
- Your command is not supported? Add your own commands using a sentence trigger.
- You find ATOM Echo takes to long to start processing your command?
- Adjust the silence detection settings. This setting defines how much silence is needed for Assist to find you’re done speaking and it can start processing your command.
- Go to Settings > Devices & Services and select the ESPHome integration.
- Under M5Stack ATOM Echo, select 1 device.

Troubleshooting
Are things not working as expected?
- Checkout the general troubleshooting section for Assist.